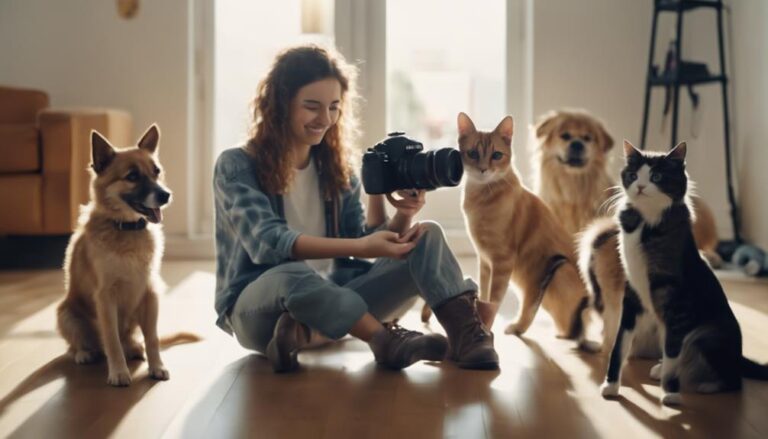
Transform your pet photography with a Pet Photography Lighting Techniques Class. Master professional lighting skills to capture your furry friends in their best light. Learn to utilize natural and artificial lighting effectively. Discover how to set up a basic lighting kit and understand light direction for stunning pet portraits. Enhance eye catchlights and avoid overexposure in photos. Experiment with creative lighting techniques to elevate your pet photography game. Take your skills to the next level and reveal the full potential of your pet portraits. Explore the world of pet photography lighting techniques and reveal a whole new level of creativity.
Importance of Proper Lighting
Proper lighting is essential in pet photography to capture their furry charm and vibrant personality. When considering lighting options, you must decide between natural and artificial lighting. Natural light can create a soft and appealing look, especially during the golden hours of sunrise and sunset. It brings out the natural colors of your pet's fur and eyes, making them look more lively and engaging. On the other hand, artificial lighting provides consistency and control over the lighting conditions, allowing you to shoot at any time of the day.
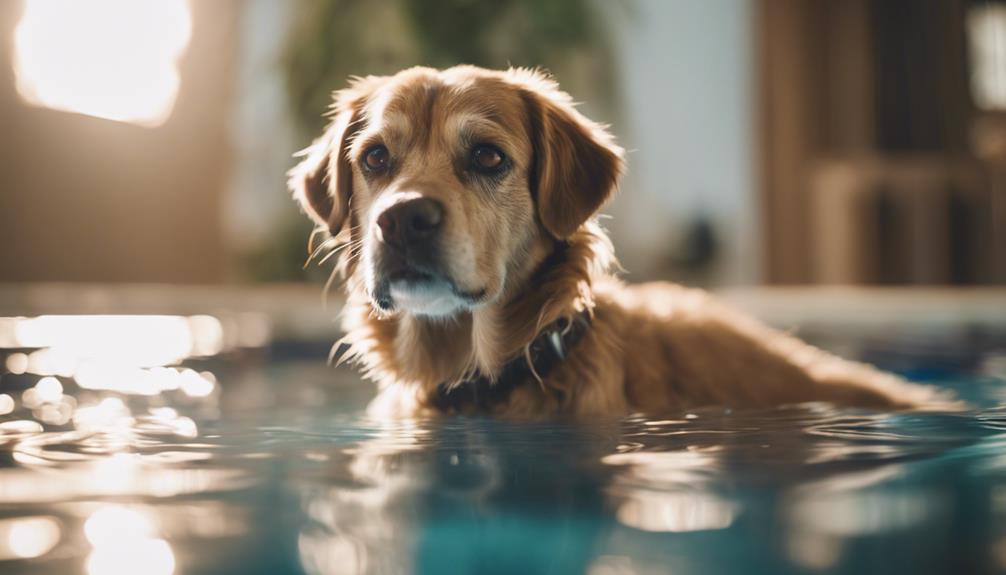
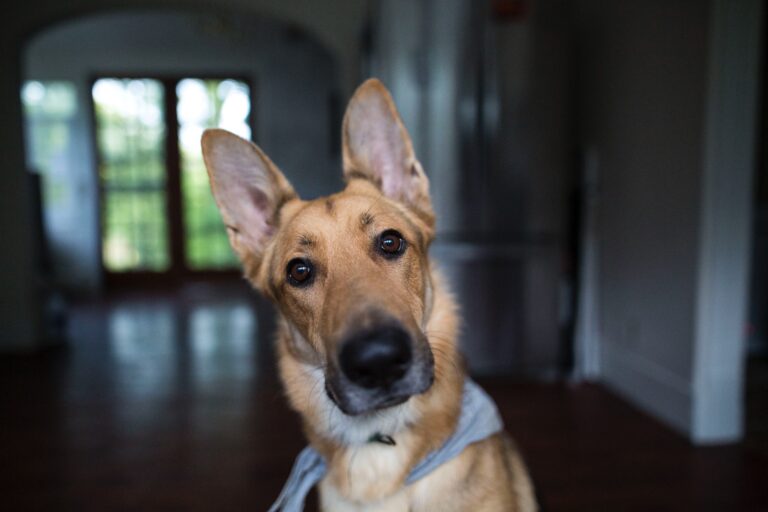
One important element of lighting in pet photography is enhancing catchlights. Catchlights are the reflections of light in your pet's eyes that add depth and life to the photo. They make the eyes sparkle and draw the viewer's attention to them. To enhance catchlights, position your pet in a way that natural or artificial light reflects in their eyes. This simple technique can instantly elevate the quality of your photos, making them more captivating and appealing.
Experiment with different lighting setups to find what works best for your pet. Whether you choose natural or artificial lighting, remember that the goal is to highlight your pet's unique features and personality. By mastering the art of lighting in pet photography, you can create stunning images that truly capture the essence of your furry friend.
Types of Lighting Equipment
When setting up your pet photography lighting, consider using light stands for stability, softboxes for diffused lighting, and umbrellas for broader coverage. Ring lights can provide even illumination on your subject, enhancing the details of your pet's features. Understanding the unique benefits of each lighting equipment type will help you achieve the desired look in your pet portraits.
Light Stands
To effectively position your lighting equipment for pet photography, consider utilizing various types of light stands. Light stands play an essential role in achieving the perfect lighting setup for your furry subjects. Here are some key points to keep in mind when selecting light stands:
- Adjustable Height: Make sure the light stand provides flexibility in adjusting the height to fit different shooting angles.
- Weight Capacity: Opt for a light stand that can securely support the weight of your lighting equipment.
- Leg Design: Search for light stands with robust and stable leg designs to prevent any mishaps during your pet photography sessions.
Softboxes Vs Umbrellas
Consider the advantages of using softboxes and umbrellas as your primary lighting equipment for pet photography to enhance your shooting capabilities. When comparing light modifiers, softboxes provide more directional and controlled lighting, resulting in sharper shadows and defined highlights. On the other hand, umbrellas offer softer, more diffused light that wraps around your furry subjects, creating a gentle and flattering illumination. By exploring different lighting effects with softboxes and umbrellas, you can achieve varied moods in your pet portraits. Softboxes excel in creating dramatic lighting for a bold look, while umbrellas are great for producing a softer, more natural ambiance. Experimenting with these tools will help you master the art of pet photography lighting.
Ring Lights
Enhance your pet photography lighting arsenal by exploring the unique benefits of incorporating ring lights as versatile and effective lighting equipment for capturing mesmerizing pet portraits. Ring lights offer a range of advantages that can elevate your pet photography game:
- Achieve creative compositions and experiment with unique angles effortlessly.
- Add a pop of color to your pet portraits using color gels for vibrant lighting effects.
- Create captivating catchlights in your pet's eyes, enhancing their expressions and personality in the photos.
Ring lights are a versatile tool that can help you achieve professional-looking pet photos with ease, making them a valuable addition to your photography gear. Start incorporating ring lights into your pet photography sessions to see a noticeable improvement in the quality of your images.
Natural Light Vs. Artificial Light
When capturing pet photos, whether using natural light or artificial light, the key is to understand how each type of lighting affects the final image. Natural light provides a soft and diffused illumination, perfect for creating a gentle and natural look in your pet portraits. On the other hand, artificial light, such as studio lights or flash photography, can offer more control over the intensity and direction of light, allowing for creative lighting effects.
In a natural vs. artificial lighting comparison, natural light tends to be more essential for pet photography due to its softer quality. It can highlight your pet's features without creating harsh shadows. Artificial light, on the other hand, can be used to create dramatic effects or to fill in shadows when shooting indoors or during low-light conditions. Understanding the lighting color temperature effects is vital when choosing between natural and artificial light. Natural light varies throughout the day, with morning and evening light having a warmer tone, while midday light tends to be cooler. Artificial light sources have different color temperatures, which can impact the overall mood and tone of your pet photos.
Whether you choose natural or artificial light for your pet photography, experimenting with both can help you develop your own unique style and enhance the visual storytelling in your images.
Setting Up a Basic Lighting Kit
To set up a basic lighting kit for pet photography, gather essential equipment like softboxes, light stands, and adjustable lights. When setting up your kit, consider the following:
- DIY Lighting Solutions: Get creative with budget-friendly options like using household lamps or making your own reflectors to enhance your pet photography without breaking the bank.
- Utilizing Natural Light: Take advantage of window photography opportunities by positioning your subject near a window to capture beautiful, soft natural light that can bring out the best in your pet's features.
- Adjustable Lights: Invest in adjustable lights that allow you to control the intensity and direction of the light, giving you more flexibility in achieving the desired lighting effects for your pet portraits.
Understanding Light Direction
Consider positioning your lights at different angles to understand how light direction can dramatically impact the mood and appearance of your pet photography. The direction of light has a significant influence on the final outcome of your images. Light direction effects the shadows cast by your pet, which can add depth and dimension to your photographs. Experiment with positioning your light source to the side, above, or behind your pet to see the varying effects it creates.
When positioning your lights, think about where you want highlights and shadows to fall on your subject. Placing the light at different angles can help you achieve the desired level of contrast in your photos. For example, lighting from the side can create strong shadows and highlights, adding drama to the image. On the other hand, lighting from above can produce a more even illumination with softer shadows.
Using Reflectors for Fill Light
When using reflectors for fill light in pet photography, remember to position them strategically to achieve the best results. Reflectors can help soften harsh shadows and create a more balanced lighting setup for your furry subjects. Experiment with different angles and distances to find the most flattering light for your pet portraits.
Reflectors for Soft Light
Using a reflector to soften light can enhance the quality of your pet photographs. Here are some key points to contemplate when utilizing reflectors for soft light:
- Lighting Modifiers: Experiment with different sizes and colors of reflectors to achieve the desired effect.
- Reflector Placement: Position the reflector strategically to bounce light onto your pet from the desired angle.
- Creating Catchlight Effects: Utilize reflectors to add a sparkle in your pet's eyes for a more engaging look.
Positioning for Best Results
For best outcomes when utilizing reflectors for fill light in pet photography, make sure strategic placement to effectively enhance your subject's features. Position the reflector at the proper angle to bounce light onto your pet from a natural source, like sunlight, for a soft and gentle fill light. If using artificial lighting, be cautious with the intensity to prevent harsh shadows. Experiment with different angles to find the most flattering light for your furry subject. Remember that the goal is to enhance the natural features of your pet, so avoid overexposing or creating unnatural lighting effects. By mastering the positioning of reflectors, you can add depth and dimension to your pet portraits while maintaining a natural and pleasing look.
Creating a Soft Light Effect
To achieve a soft light effect in pet photography, diffuse the light source using a translucent material such as a white umbrella or a softbox. Soft light effects for portraits can enhance the features of your furry friend, creating a dreamy atmosphere that captures their essence beautifully. Here are three tips to help you master this technique:
- Distance Matters: Position the diffuser between the light source and your pet to soften the harsh shadows and create a gentle glow around them.
- Adjust Intensity: Experiment with the distance between the diffuser and your pet to control the softness of the light falling on them. Closer distances will create a more diffused effect, while moving it farther away can result in a subtle softening.
- Use Reflectors: Adding reflective surfaces near your pet can bounce the softened light back onto them, filling in shadows and adding a lovely luminosity to their fur.
Techniques for Backlighting
When backlighting in pet photography, position your light source behind your furry friend to create a stunning halo effect that emphasizes their silhouette and adds a touch of magic to your photos. This technique is perfect for capturing silhouette photography, where the subject appears as a dark shape against a bright background. To achieve this look, experiment with different angles and positions of the light to create dramatic effects and bring out the details of your pet's features.
Adding drama in backlighting can elevate your pet photos to the next level. By placing the light behind your furry friend, you can create a sense of mystery and intrigue in your images. Pay attention to catchlight placement in your pet's eyes to bring life and spark to the photo. Catchlights help create a connection between the viewer and your pet, making the photo more engaging and emotive.
Incorporating creative lighting techniques in backlighting can result in visually striking and memorable pet portraits. Play with different light intensities, use props to cast interesting shadows, or experiment with colored gels to add a unique touch to your images. Remember, backlighting is a powerful tool in pet photography that, when used effectively, can produce captivating and enchanting photos.
Controlling Harsh Shadows
Position your light source strategically to minimize harsh shadows and create a softer, more flattering illumination in your pet photography. When it comes to controlling pet shadows and softening harsh shadows, there are a few key techniques you can employ:
- Use Diffusers: Place a diffuser between the light source and your pet to scatter the light and reduce harsh shadows.
- Adjust Light Angle: Experiment with different angles to find the best position that minimizes shadows on your pet.
- Reflectors: Utilize reflectors to bounce light onto your pet from different angles, helping to fill in shadows and create a more balanced lighting effect.
Adjusting White Balance for Pets
For achieving accurate color tones in your pet photography, adjusting the white balance settings is crucial. White balance refers to fine-tuning the temperature of the colors in your photos to make sure they appear natural and true to life. When photographing pets, especially those with different fur colors and textures, getting the white balance right can make a significant difference in the final outcome of your images.
Begin by adjusting the white balance settings on your camera. You can choose from presets like daylight, cloudy, shade, or tungsten, depending on the lighting conditions you are shooting in. Alternatively, you can set a custom white balance by using a neutral gray card or a white piece of paper to help your camera calibrate the colors accurately.
When photographing pets indoors, artificial lighting can impact the color balance of your images. To combat this, try using a white balance filter or adjusting the temperature settings on your camera to match the type of lighting in the room. This will help eliminate any unwanted color casts and produce more natural-looking photos of your furry friends.
Mastering white balance adjustments for your pet photography can enhance the overall quality of your images, ensuring that the colors appear vibrant and true to life. Experiment with different settings and techniques to find what works best for your specific shooting conditions and pet subjects.
Tips for Outdoor Pet Photography
Adjusting the white balance for your pet photography can greatly impact the colors in your images, especially when moving to outdoor settings for capturing your furry companions.
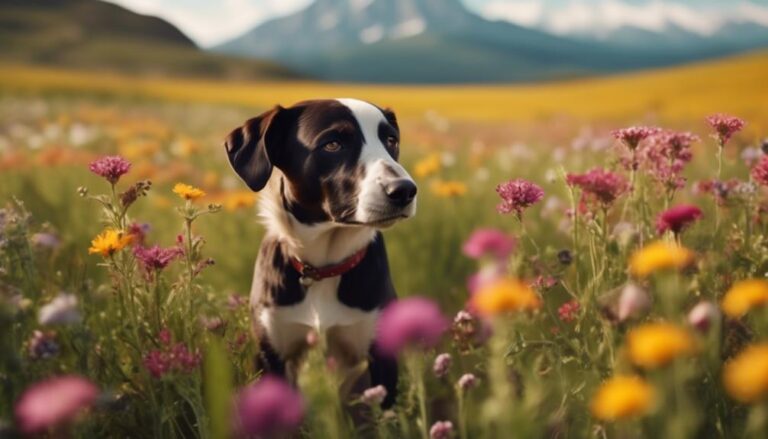
- Composition Tips: When shooting your pets outdoors, consider the rule of thirds to add interest to your photos. Place your pet off-center to create a visually appealing composition.
- Posing Ideas: Encourage natural behavior in your pets for candid shots. Capture them jumping, running, or playing to add energy and personality to your outdoor pet photos.
- Location Scouting, Color Coordination: Explore different outdoor locations to find the perfect backdrop for your pet photos. Consider the color of your pet's fur and choose backgrounds that complement or contrast with it for visually striking images.
When taking your pet photography outdoors, keep these tips in mind to enhance your images. Experiment with different compositions, poses, and locations to create unique and alluring photos of your beloved companions. Remember to pay attention to the lighting conditions and adjust your camera settings accordingly to achieve the best results.
Indoor Lighting Tips and Tricks
When capturing indoor pet photos, make sure you utilize natural light sources effectively to enhance your images. Unlike outdoor settings where sunlight is abundant, indoors can present challenges regarding lighting. Natural light is usually softer and more flattering for pet photography compared to harsh artificial lighting. Position your pet near a window or door where natural light can illuminate them, creating a more pleasing and natural look.
In indoor pet photography, you have the advantage of controlling the lighting conditions more easily than outdoors. While artificial lighting can be used to supplement or enhance natural light, be cautious with harsh overhead lights that may create unflattering shadows. Experiment with different light sources such as lamps or softbox lights to add warmth and depth to your indoor pet photos.
When comparing indoor and outdoor lighting for pet photography, consider the mood you want to convey in your images. Indoor lighting tends to be more controlled and intimate, perfect for capturing cozy moments with your pet. Outdoor lighting, on the other hand, offers dynamic and ever-changing light conditions that can add a sense of adventure and playfulness to your pet photos.
Enhancing Eye Catchlights
When capturing your pet's photos, consider the placement of catchlights in their eyes to bring life and sparkle to the image. Utilize reflective surfaces strategically to enhance catchlights and create an enchanting look in your pet's eyes. Enhancing these eye catchlights can add depth and emotion to your pet photography.
Catchlight Placement Tips
To enhance the catchlights in your pet photography, consider positioning your light source at a slightly elevated angle above the subject's eyes. This technique can create captivating effects that bring out the sparkle in your pet's eyes. Here are some tips to help you achieve stunning catchlights:
- Experiment with different angles to see how they affect the catchlight positioning and the overall artistic effects in your photos.
- Pay attention to your pet's expressions as catchlight placement can greatly influence the emotions conveyed in the image.
- Adjust the intensity of the light to control the size and brightness of the catchlights, enhancing the depth and life in your pet portraits.
Reflective Surfaces for Catchlights
Consider using reflective surfaces strategically to enhance the catchlights in your pet's eyes and add an alluring sparkle to your pet photography. By positioning reflective materials near your pet, you can create beautiful catchlight shapes that add depth and emotion to your images. Experiment with different angles to achieve the desired effect. Reflective surfaces can help soften harsh lighting and create a more pleasing look in your pet portraits. Choose materials that are not too harsh or distracting but provide a gentle enhancement to the catchlights. Remember, the goal is to enhance your pet's eyes naturally and subtly. Incorporating reflective surfaces into your photography can elevate the overall quality of your pet portraits.
Avoiding Overexposure in Photos
Avoiding overexposure in photos requires adjusting your camera settings to control the amount of light entering the lens. Here are three essential tips to help you achieve well-exposed pet photographs:
- Balancing Exposure: To avoid overexposure, it's important to balance the exposure settings of your camera. Adjust the aperture, shutter speed, and ISO to make sure that the right amount of light reaches the sensor. Experiment with different combinations until you find the perfect balance for your specific shooting conditions.
- Using Exposure Compensation: Exposure compensation allows you to manually adjust the exposure set by your camera's metering system. If you notice that your photos are consistently overexposed, use exposure compensation to dial back the exposure. This feature gives you more control over the brightness of your images, helping you prevent washed-out areas.
- Checking Histograms: Histograms provide a visual representation of the exposure levels in your photos. By checking the histograms on your camera's display, you can quickly identify overexposed areas. Make use of this tool to make sure that your pet portraits have a well-distributed range of tones without losing detail in bright areas.
Experimenting With Creative Lighting
Get ready to elevate your pet photography game by exploring creative lighting techniques. From light painting to capturing silhouettes, these methods can add a unique touch to your images. Experiment with backlighting to create dramatic and visually striking pet portraits.
Light Painting Techniques
To enhance your pet photography with alluring and distinctive lighting effects, experiment with light painting techniques that allow you to creatively illuminate your subjects. Light painting opens up a world of possibilities for creating enchanting pet portraits. Here are some tips to get you started:
- Play with Light Trails: Capture mesmerizing light trails that add a dynamic and artistic touch to your pet photos.
- Explore Creative Effects: Use different light sources and movements to produce unique and eye-catching effects in your images.
- Master Long Exposure for Pet Portraits: Experiment with long exposure settings to bring out a magical quality in your pet portraits, enhancing their charm and character.
Light painting can truly elevate your pet photography, giving your images a magical and whimsical feel.
Silhouette Photography Tips
Experiment with innovative lighting to capture intriguing silhouettes in your pet photography, adding a touch of mystery and allure to your images. To achieve striking silhouettes, try positioning your pet against a bright background or light source while keeping your pet in shadow. Encourage creative poses from your pet, such as stretching or playing, to create dynamic silhouettes. Focus on capturing artistic compositions that highlight the outline and unique features of your pet without showing details. Experiment with different angles and perspectives to find the most enchanting silhouettes. By incorporating creative poses and artistic compositions into your silhouette photography, you can add a dramatic flair to your pet portraits, making them truly stand out.
Backlighting for Drama
Enhancing your pet photography with dramatic flair, consider utilizing backlighting to experiment with creative lighting techniques. Backlighting can add a touch of mystery and intrigue to your pet portraits, creating striking effects that elevate the overall look of your photos. To make the most of backlighting for your pet photography, keep these tips in mind:
- Position your pet in front of a strong light source to create compelling silhouettes.
- Use a reflector to bounce some light back onto your pet's face for a more balanced effect.
- Experiment with different angles and positions to find the most engaging lighting setup for your silhouette portraits.
Frequently Asked Questions
How Can I Ensure My Pet Stays Calm and Cooperative During a Photography Session?
To keep your pet calm and cooperative during a photography session, focus on pet training and stress management. Pay attention to their behavioral cues and use positive reinforcement. This approach will help create a relaxed and enjoyable experience for both of you.
Are There Specific Colors or Patterns That Work Best for Pet Photography Backgrounds?
Choose backgrounds wisely for pet portraits. Consider color psychology; opt for calming tones like blues and greens. Patterns should be subtle to not distract from your pet. Remember, the background should complement, not overpower, your furry friend.
What Are Some Tips for Capturing the Unique Personality of My Pet in Photos?
To capture your pet's unique personality in photos, focus on capturing their authentic expressions. Experiment with different lighting techniques to highlight their features. Play with angles and use natural light to showcase their character. Have fun and be patient!
How Can I Incorporate Props Into My Pet Photography Without Overwhelming the Image?
When incorporating props into your pet photography, focus on prop placement for balance. Get creative with compositions by using subtle props that enhance, not overwhelm, the image. Remember, less can often be more impactful.
Are There Any Editing Techniques I Can Use to Enhance the Overall Mood and Tone of My Pet Photos?
To enhance the mood and tone of your pet photos, experiment with color grading and effects. Play with composition and angles to create dynamic shots. Editing tools can transform your images, adding depth and emotion.
Conclusion
So, now you know the importance of proper lighting in pet photography. With the right equipment and techniques, you can enhance your photos and capture the best shots of your furry friends. Remember to experiment with different lighting setups and always keep in mind the direction of light. Keep practicing and honing your skills to become a pro pet photographer!

